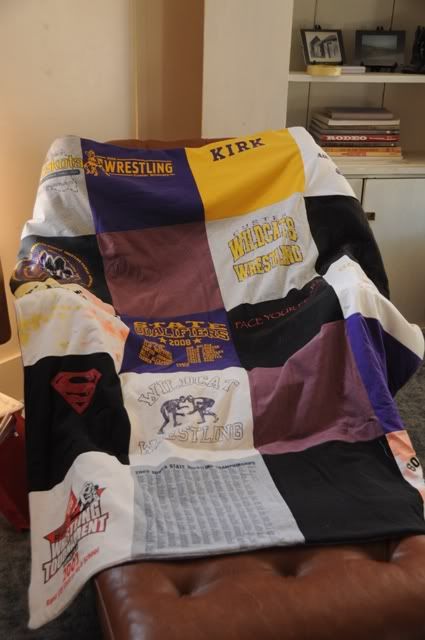
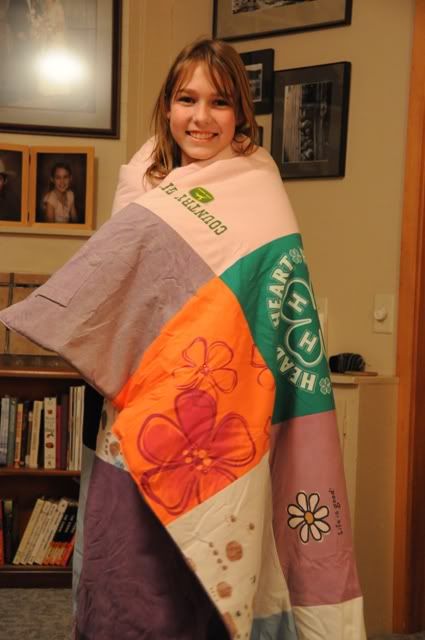
The one gift I was most excited about giving my kids this year were the t-shirt quilts I made for them. I could hardly wait until Christmas for them to open these gifts.
I had wanted to make one for a long time and I’m not sure why I was hesitant. They went together very easy and I hardly spent any money on materials to make them. I was able to reuse old blankets for the backs.
To make them, the first thing you need is a stack of old t-shirts.

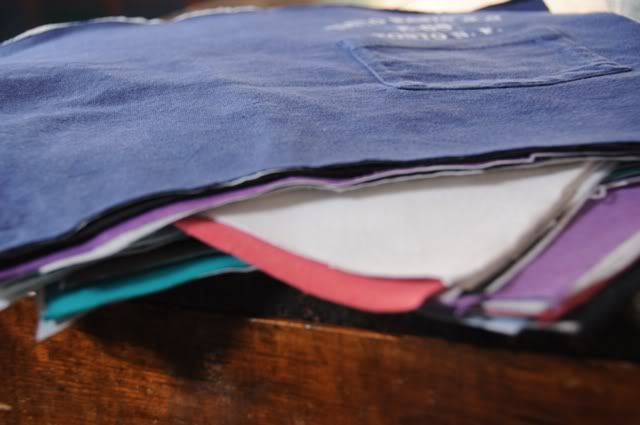
I had been saving up all of my son’s AAU wrestling t-shirts along with some other t-shirts that he’d outgrown.
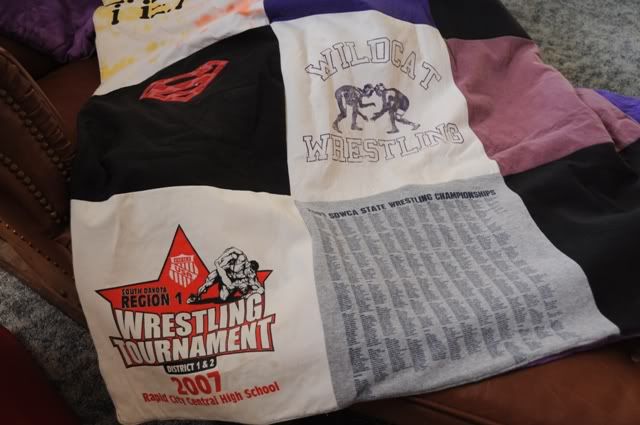
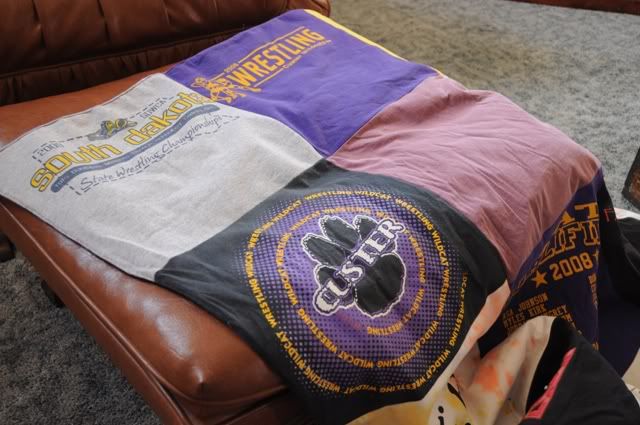
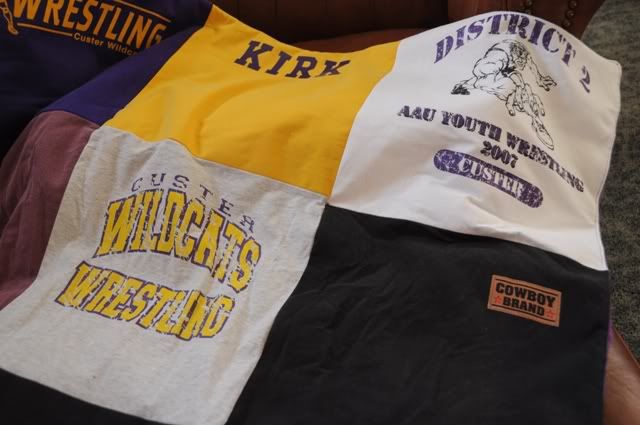
I am not a quilter, so I didn’t have the fancy rotary cutter and grid board to make the job faster, but my method was relatively quick considering I did it the hard way.
1) I pressed all of the t-shirts smooth first (but be careful of screen printed tees I had some melt and smear; just cover with a clean rag and iron over).
2) I made a 13 square cardboard template that I cut out of a large gift box.
3) I laid the template over the screen printed picture and traced with a ballpoint pen (you’ll be sewing the pieces together so it won’t matter). TIP: if there’s screen printing on the back, arrange the template to cover both pictures, or trace and cut the back side separately from the front picture.
4) I cut through both the front and back layers of each t-shirt. I did this because I was short on having enough squares and used the solid colored squares to fill out the quilt to make the size I wanted. I used 20 squares (4 across, 5 down)
5) I cut out 13 squares of fusible interfacing to cover the whole back side of the screen printed t-shirt squares and pressed using a damp floursack dishtowel between the iron and t-shirt it adheres better. TIP: Lift and press your iron onto the interfacing; don’t smooth your iron across or you may end up with misshapen or folds ironed in by accident. TIP: Pelon 906F was suggested to me, but if you read up on any of them, it should tell you what types of material it’s recommended for.
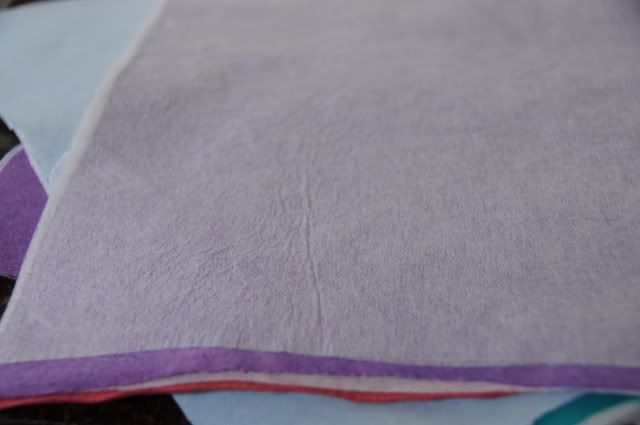

6) Next, I laid out all the squares on the floor and arranged according to dark-colored squares next to light ones, solid squares next to screen-printed ones until I had an arrangement I liked (if you’re not obsessive about order, just get to sewin’).
7) I sewed the squares right sides together in a row or column; just MAKE SURE one square doesn’t get sewn upside down or in the wrong order, depending on if you’re going across or down. I honestly can’t remember, but I think I sewed about ¼ wide.
8) After getting each row or column sewn, I replaced it on the floor, then started sewing on the next row/column (I tried both ways; one way for each quilt. Both directions work).
I used up some old batting for one of the quilts and an old blanket for the other quilt for thickness. This is what goes in the middle of the blanket and won’t be seen. I also bought a couple packages of purple dye (our school’s colors) and dyed two old white flannel blankets get this in AN OLD Vitalix LICK TUB! It worked great. (cleaned out of course) I set it to soak in our bathtub (once it was dyed I rinsed it out then ran it through my washing machine on rinse cycle). Naturally, the first blanket came out really dark and the second blanket was more lavender.
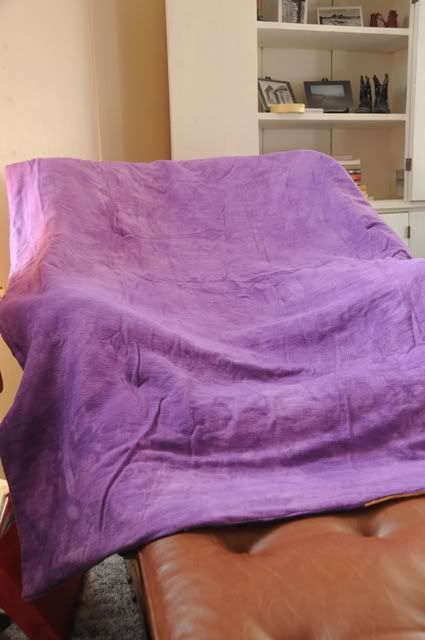
This is because: I was too cheap to buy more dye and figured I could make it stretch, I didn’t read the instructions until I was getting ready to dye, and I didn’t care. My daughter got the more lavender colored back. You can easily do the same if you have old blankets you don’t mind recycling. Dying is optional. I just did it because I wanted my kids’ quilts to be something with school colors they could take on the activities bus.
9) Next is an important step. I spread out the batting/old blanket I intended to be inside, on the floor. Next, I put my blanket’s backing on top; good side facing up and lined up the edges of the backing on two edges of the batting/innards layer. Last, I placed the completed quilt top, good side face down, on top of that; again, lining up along the same two edges.
10) I pinned all around the edges of all three layers and cut off the two excess edges of batting/innards and backing. Again: the order should be batting or whatever’s going to be inside, then the material you want to be on the back side (good side facing up), and the quilt top (good side facing down).
11) Starting in the middle of any side, sew around the quilt at the edge but LEAVE AN OPENING (mark your ending spot somehow if you think you’ll forget to stop) big enough to turn the whole quilt right side out. TIP: Wherever I start and end I always make a reinforced stitch (as well as at each corner of the quilt); going back and forth with my sewing machine a few times so it doesn’t come unraveled.
12) I trimmed the excess layers of material diagonally at each corner (it helps the corners look crisp when you invert everything). Each corner should look beveled where you snipped (just be careful not to cut through your seams).
13) I inverted the whole quilt by pulling everything through the opening on so that the right sides of the front and back showed.
14) Next I used a blunt, round-ended object (like kitchen sheers maybe) to poke the corners from the inside. Too sharp an object and you’ll poke a hole through the quilt.
15) I ironed all around the quilt at the edges, right at the seams so it looked crisp and top-stitched ¼ seam all around it so it closed up my opening and added a finishing touch.
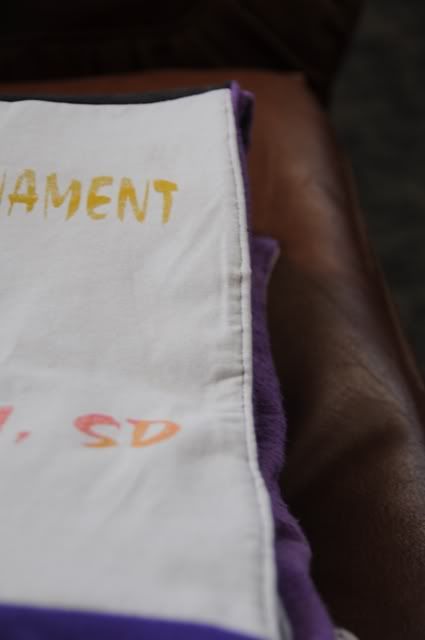
These took me each a couple days to do. If I would’ve had a solid block of time I probably could’ve completed one in a day. They were fun to do and make meaningful gifts that fulfilled my need for making homemade gifts.
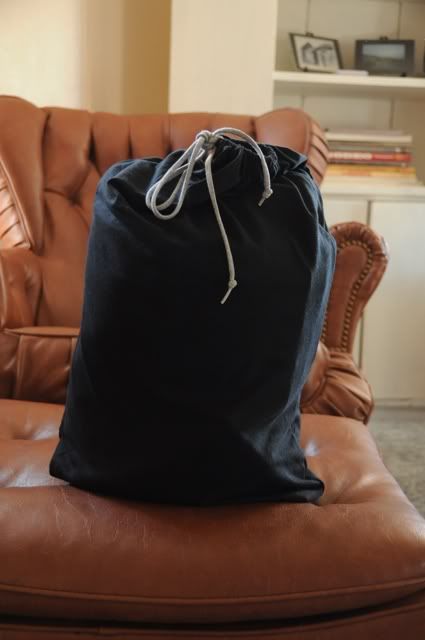
I also sewed up a bag for them made from an old t-shirt and used the string from a hooded sweatshirt for the drawstring.
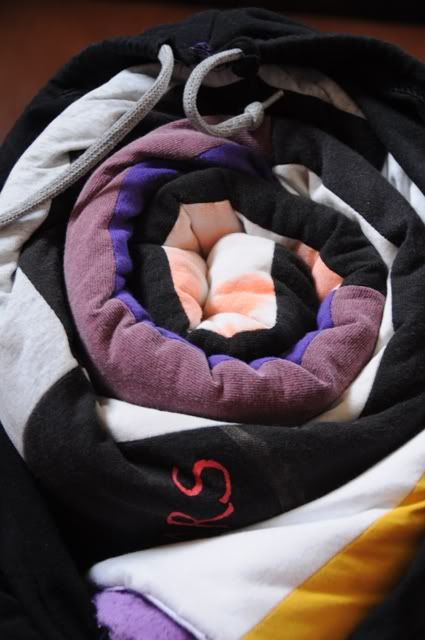
Upon closer examination there are plenty of mistakes where my corners didn’t match up perfectly.
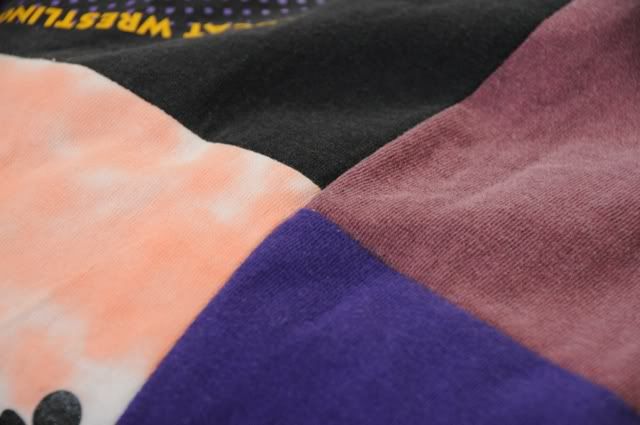
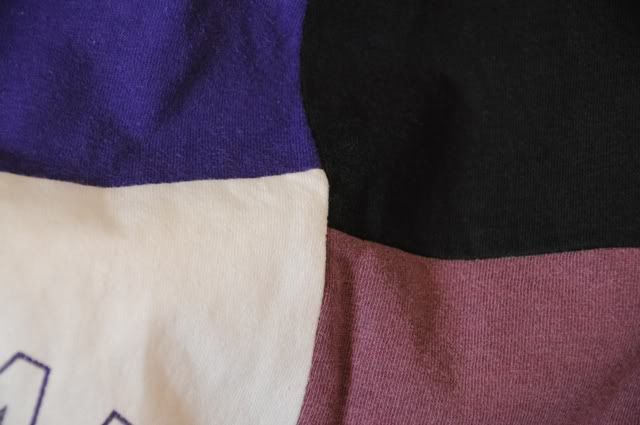
True quilters would probably gasp in horror over them and some of the made up quilting techniques I used but these quilts were designed to get roughed up so I am not going to concern myself about them. The main thing is that I got brave and did them anyway.
I can’t wait to be the envy of the other wrestling moms, or for my son to be the envy of the other wrestlers, and my daughter to be the envy of her friends. They’re the perfect size to take along on activity buses and car trips.
6 responses to “What I Made My Kids For Christmas: T-Shirt Quilts”
Amy
Neat idea for a keepsake Christmas gift to the kids. I wouldn’t worry about unperfected corners, as your love is a bigger reflection of the quality of the quilts.
Sounds like 10 Mindful Minutes needs to be on my reading list. Thanks for the suggestion.
Happy New Year and Best Wishes for a Great 2012.
Great project with wonderful results!
Thought I was reading a 4-H demonstration. Way cool there Ms. Kirk! They really turned out nice.
Very nice!!! Thanks for sharing and Happy New Year!!
I think ANY quilter would say good job! You set out to do something, you did it, and it is going to be something your kids love and USE for a long time! They are great!
Great work! My mom’s best friend made me one of these and she told me all those little blemishes were the “love” she put into it! 🙂
I am going to be making these for my siblings for next Christmas. Except I’m not a sewer AT ALL, so I am going to make tie t-shirt blankets like so many do with fleece blankets. I’ve already made myself one, so how hard can two more be. 😉
Great blog! Thanks for all the laughs.